Blender Animation
Hierarchies
Parent/Children
Foward Kinematics,
Keyframes
Tweens
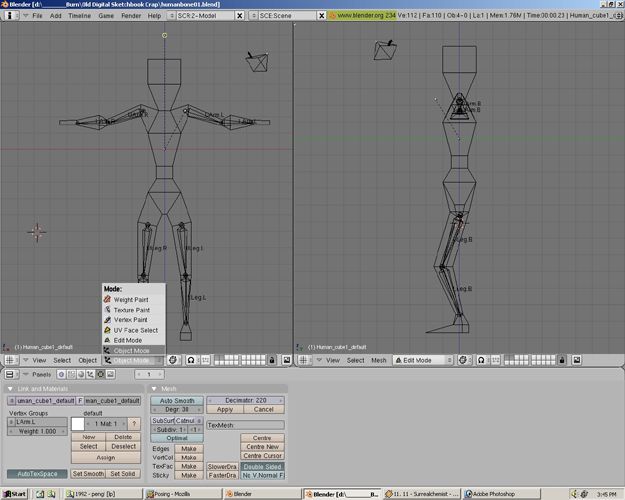
Step 89
At the bottom of the left view panel change the drop down menu back to Object Mode.
Step 90
Right click to select the body first. Then hold shift and select the armature. Now both should be selected.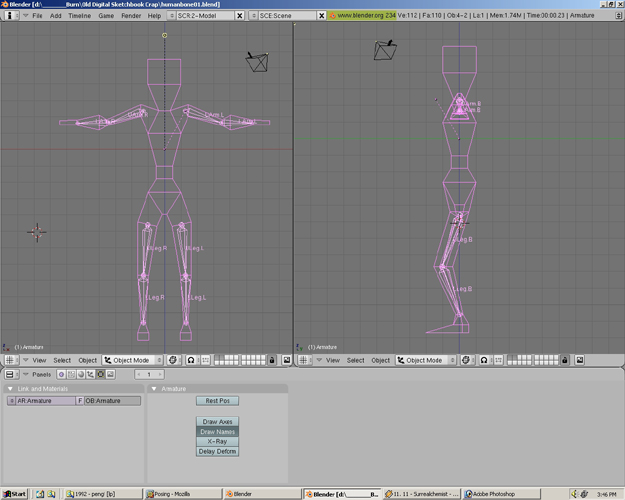
Step 91
At the bottom of the left view panel change the drop down menu to Pose Mode.
Step 92
Now the model should look pink and the armature light blue. On the right view window Press 0 on the Numpad to get the Camera View. Use a combination of holding the middle mouse button and scrolling the mouse wheel to change the view. Make the view look similar to that of the example.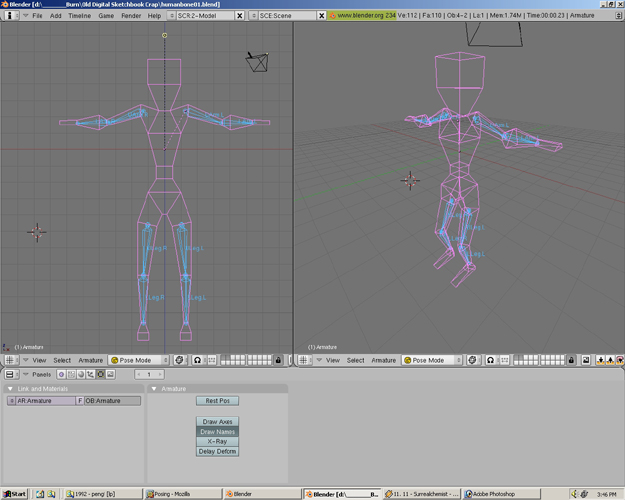
Step 93
So far we have only looked at the model in wireframe. To change this go to the icon drop menu at the bottom of the right view area. This icon is directly to the right of the word "Pose Mode". Click the the arrows next to the icon to get a selection. Chose Shaded. Rotate the view slightly as shown in the picture. In the left view area select the uppler left arm bone with by clicking the right mouse button on the bone.
Step 94
Press R to rotate the bone.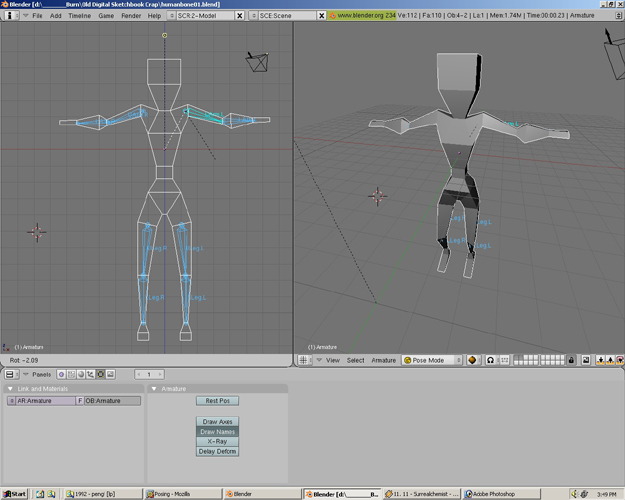
Step 95
Move the mouse up and the arm moves up.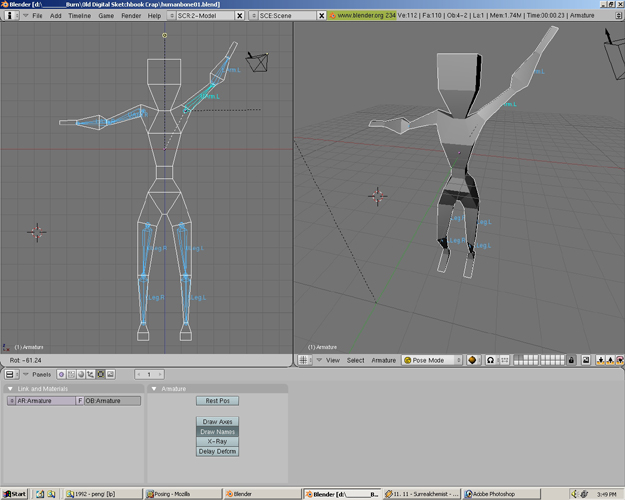
Step 96
Move the mouse down and the arm moves down. The reason the other lower arm moves also is because it is a Child. The bones were created in a Hierarchy. The relationship is as follows: Parent is created first. Then all bones connected to it are its children. If the parent bone moves, the children move. These bones are connected like a chain. The upper parts of the chain move the lower ones. For example in real life if we move our shoulder we move all the parts of our arm. However, if we move our wrist only our wrist moves. The wrist would be lower in the Hierarchy, thus, lower on the chain. The wrist would be one of the shoulder's children. This type of animation Hierarchy is called Foward Kinematics.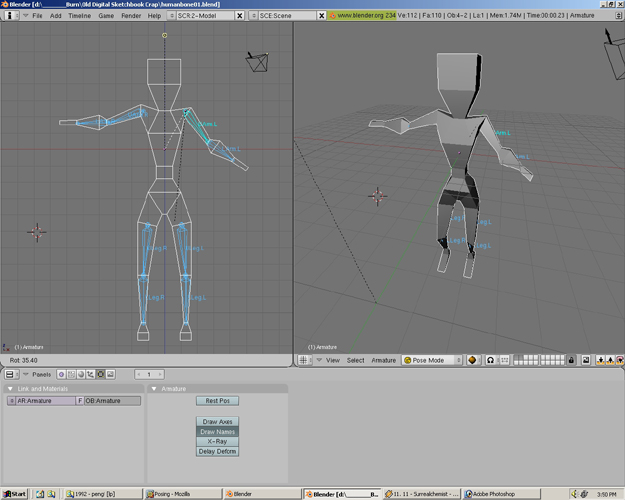
Step 97
Move the mouse cursor slowly from the right view area to the place where the views split. When the mouse cursor turns to two arrow click the middle mouse button.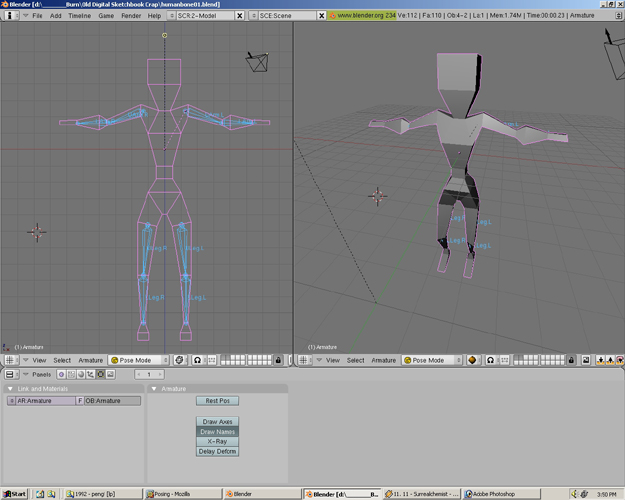
Step 98
Select Split Area.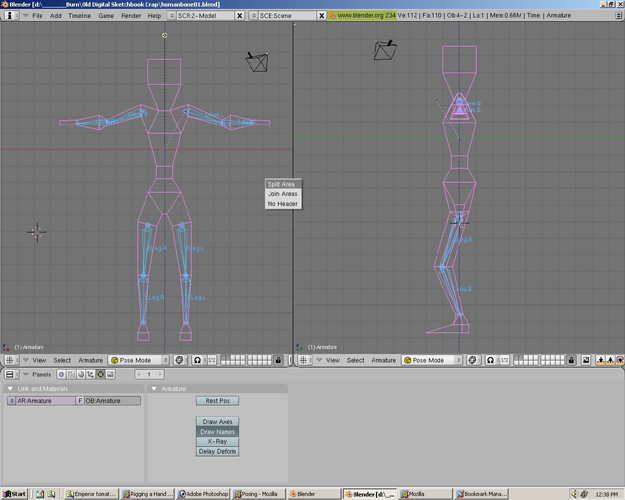
Step 99
A line should appear in the right view area. Click the left mouse when it appears in the same place as shown in the picture. If the line shows on the left side view, press ESC. and try the previous step again.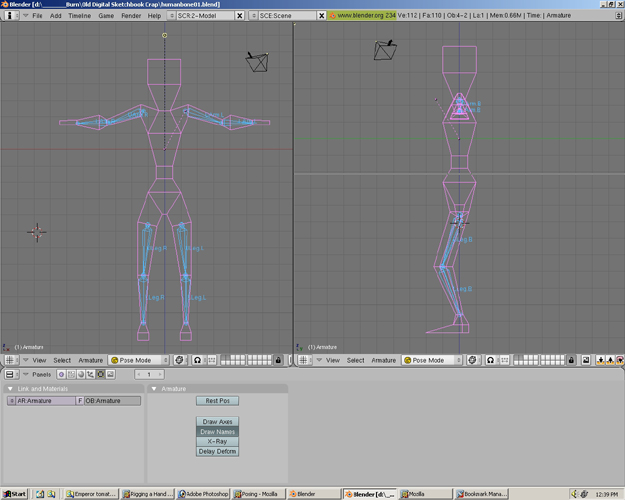
Step 100
Now there are 3 view areas; one left and two right view areas.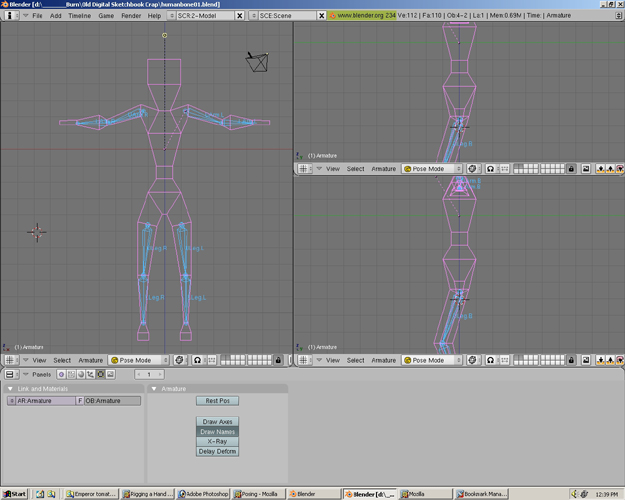
Step 101
In the upper right view area Press 7 on the NumPad and in the lower right view area Press 0 on the NumPad. Move the lower right view area to be similar as the shown in the picture. Press A to select all the bones. Press I and LocRot to make a keyframe of the current pose. A keyframe is used to store a point from A to B. For example lets say a ball it going to move from the ground to 10 meters in the air and then back to the ground. Make a key frame 1 of the ball at the ground. Then make a key frame 15 of the ball 10 meters in the air. Next make a key frame 30 with the ball at the ground again. The frames 2-14 will all slowly move towards 10 meters high in the air. Frames 16-29 would move towards the ground. The frames 2-14 and 16-29 are the same things as In Betweens in animation or commonly known as Tweens.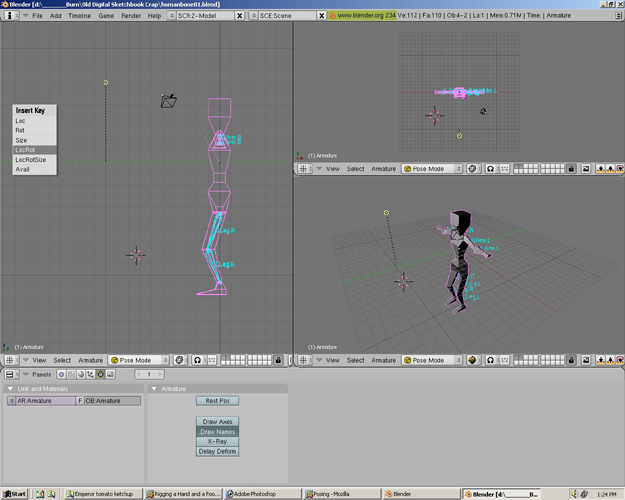
Step 102
Select the upper right leg bone and Press G. Move the bone slightly as shown in the picture.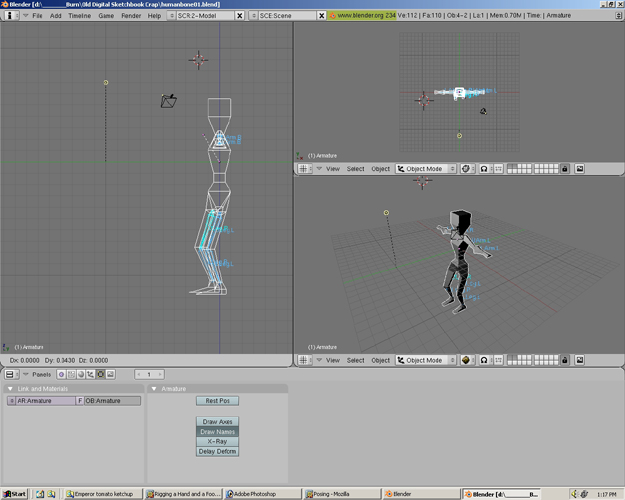
Step 103
Press R to rotate the bone as shown in the picture.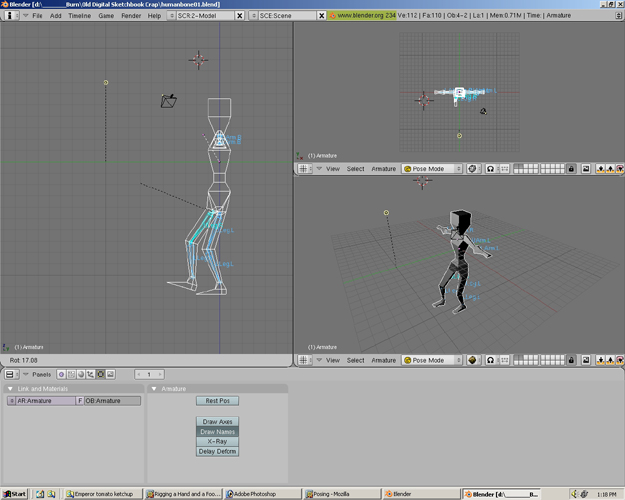
Step 104
Select the lower right leg bone and press R to rotate the bone as shown in the picture.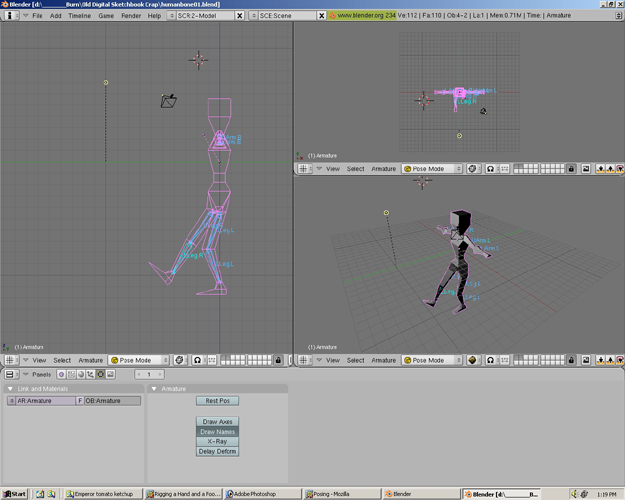
Step 105
Near the bottom of the left view area Underneath the word "Pose Mode" is a Frame Number button. Change the frame number to 30. Press I and LocRot to make a keyframe this new pose.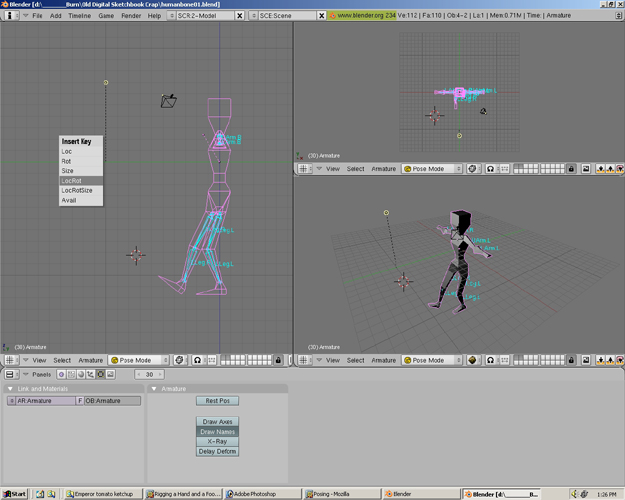
Step 106
Now there are two key frames. A keyframe at 1 and 30. To see the Tweens enter any number between 1 and 30 in the frame number button. Also using the Left, Light, Up, and Down Arrow buttons manipulate the frame number. This is the pose at frame 11.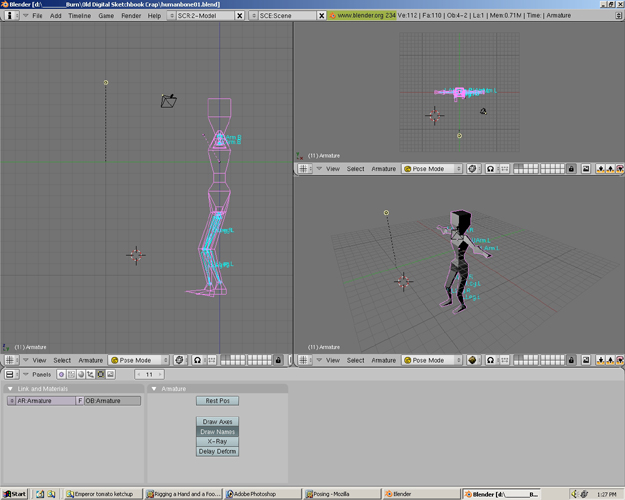
Step 107
This is the pose at frame 21.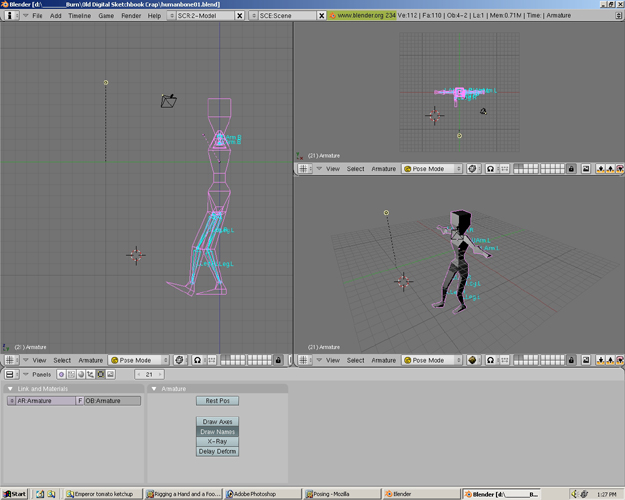
Step 108
This is the pose at frame 31.
Step 109
Go to File>Save As and name the file Humanbone02.blend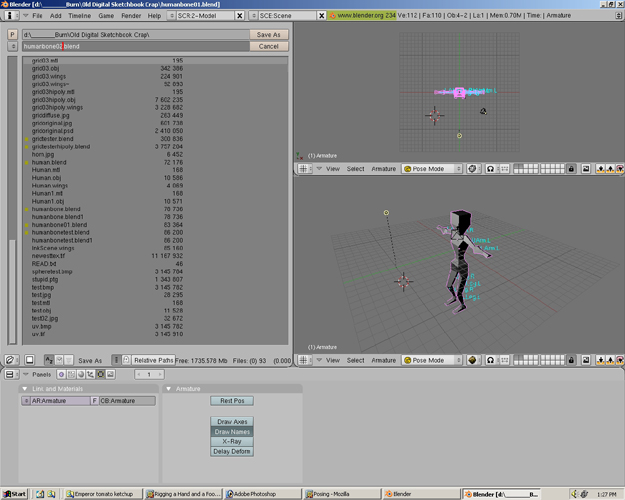
Step 110
Right now we were looking at the Editing Button(F9). To get to the rendering panels Select the Scene Button(F10). Now different panels should appear.
Step 111
Change the Pose Mode back to Object Mode.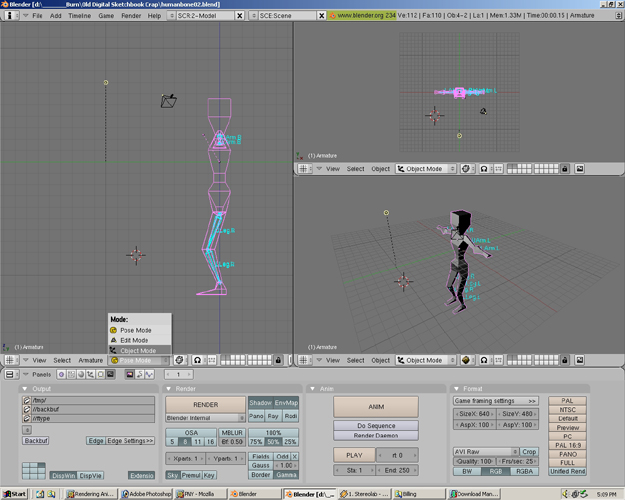
Step 112
Near the far right is the Format panel. There should be a few options that we will change. Change Quality from 90 to 100.
Step 113
Also change the Jpeg to AVI Raw. This will change the render from being a jpeg to being a large uncompressed AVI video file.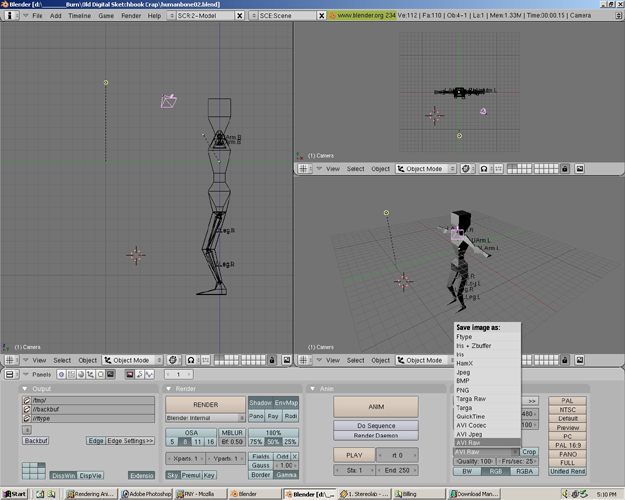
Step 114
In the lower right hand view area change the view to camera mode by pressing 0 on the NumPad. Right click on the camera(the pyramid thing) to select it.
Step 115
In the upper right hand view draw a diagondal line by moving the mouse cursor diagonally.
Step 116
Move the camera to the location shown in the picture and place it there by clicking the left mouse button.
Step 117
In the left hand view draw a vertical line by moving the mouse cursor diagonally.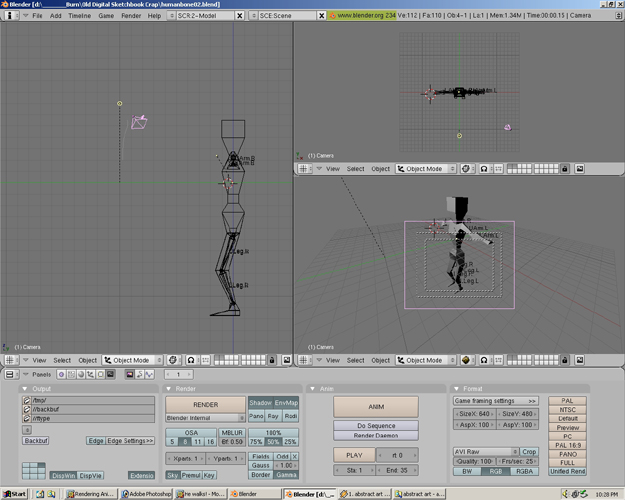
Step 118
Move the camera to the location shown in the picture and place it there by clicking the left mouse button. Almost all the the figure is inside the safe viewing areas of the camera(the dotted line squares in the camera view).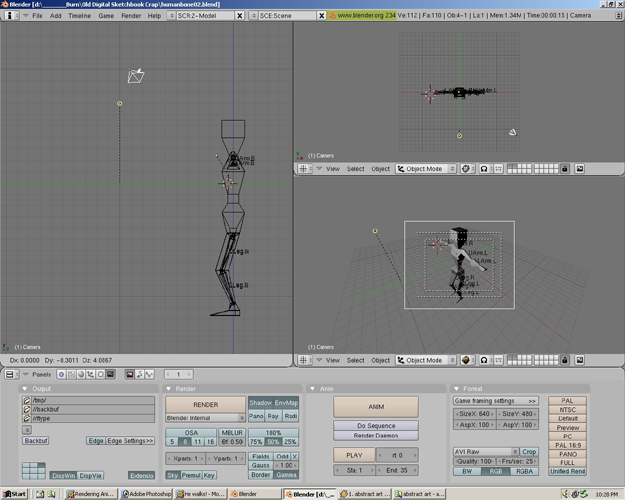
Step 119
Move the camera until the the figure is in the safe viewing areas of the camera.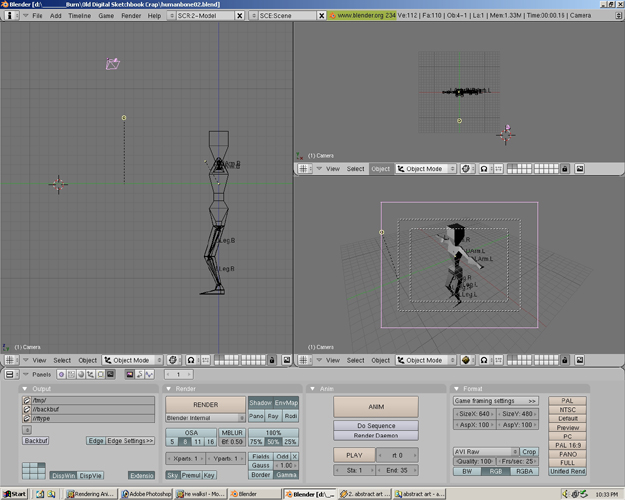
Step 120
Press F12 to see a quick Blender Render from the camera's view. Close the Blender Render window by clicking on X in the corner of the window.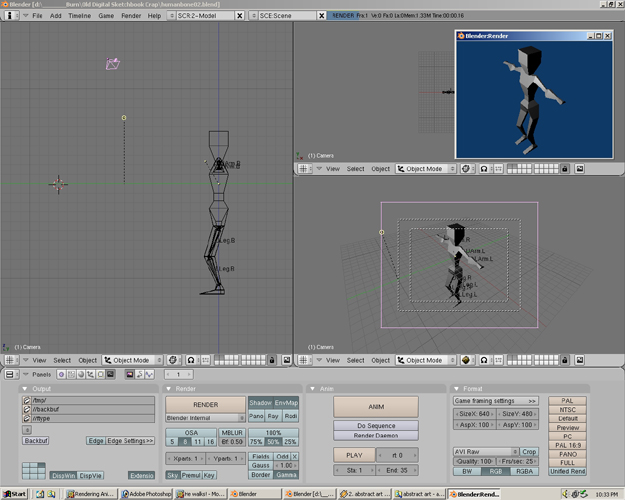
Step 121
On the far left side of the panel area is Output Panel. Click the folder to /tmp/ and find the directory where you want to put the avi render. I changed my directory to the same one where my original model is located. Located in the mid righthand side of the panels area is the Anim Panel. Change the End from 250 to 30. This will make the animation end at frame 30 instead of fram 250.
Step 122
Go to File>Save As. Save the file as Humanbone03.blend.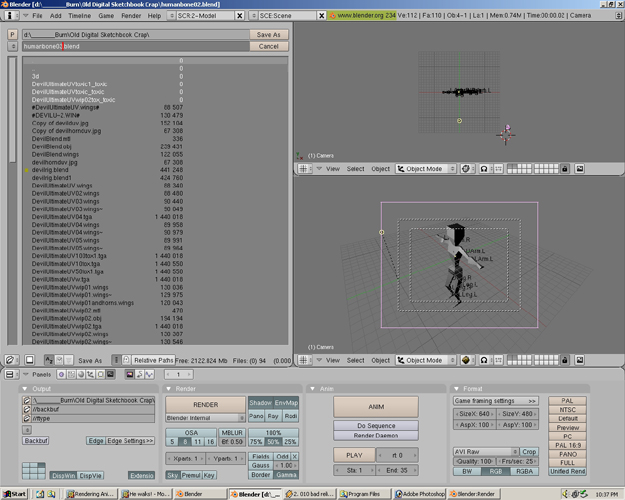
Step 123
Under the Anim Panel Press the Anim button. This will start rendering the animation. A render window will appear showing each rendered frame.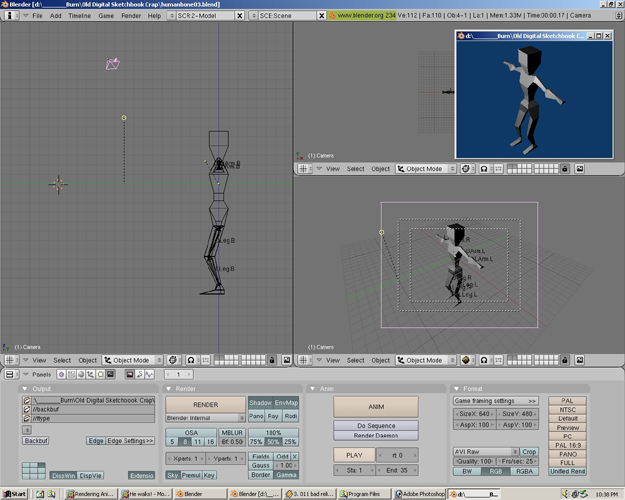
Step 124
Find the AVI animation file you just saved using Windows Explorer or some such program. Open it and see your animation!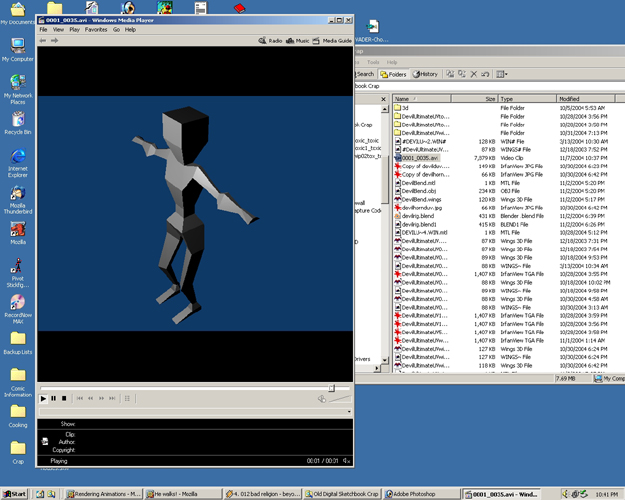
Step 125
Under the Format Panel in Blender you can change from the AVI Raw which is can be a large filesize to AVI Codec which can be sometimes 10 times smaller in filesize. There may be many types of Codecs to choose from. Each has varying quality. Try them and adjust the codecs options to see which one works best for you. Have fun animating!!!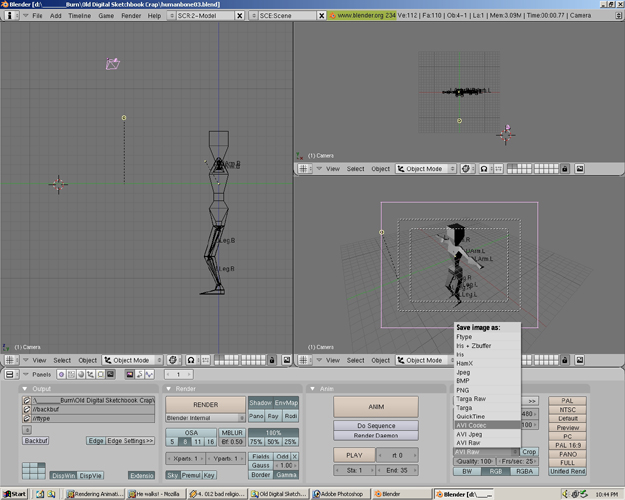
Click to go back - Blender Rigging & Skinning